 |
Finished Door |
Cockpit Side Door Project
By
Charlie Billings — NOBSKA, 32-057, Bremerton YC,
WA
For the past few years, I’ve often thought it
would be nice to have an access door in the starboard
side of the cockpit to make it easier to embark and debark
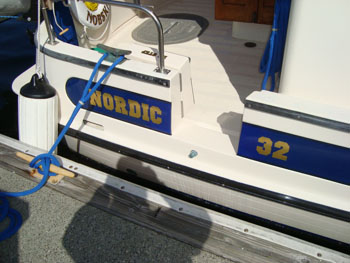
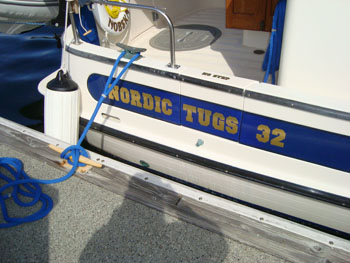
from our 32’ Nordic Tug when side tied to a float
or pier. As our yellow lab, Bob, got older,
it became difficult for him to “jump the bulwark” to
get in and out. At 13+ years old and 70+
pounds, having to lift him in and out during the past
St. Patrick’s Day weekend club cruise caused me
to think, “It’s time to make it easier for
the dog, and his keepers”.
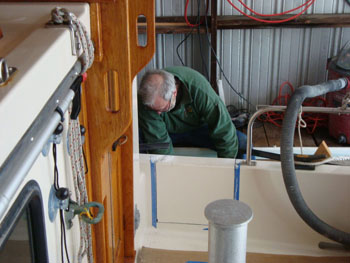
A fellow club member and I commenced
the project in my boathouse at the Bremerton YC on
Monday, March 16th, 2009. We worked several hours a day, depending
on weather (temperature, humidity, etc), and other commitments. Sharon & I
even took the tug out for a four day cruise with friends
after we completed the glassing, but before final sanding
and application of the gel coat. We completed
the project on April 24th, 2009 – a little over
6 weeks from start to finish. All told, between
the two of us, we have approximately 130 +/- man hours
of labor (lots of filling, grinding and shaping, glassing,
and dry sanding, and filling, and dry and wet sanding,
and more wet sanding, rubbing out, waxing, and buffing)
and perhaps $200.00 in materials. If this
project were to be done by professionals in a commercial
yard, I imagine the man hours required would be less.
I had some left over “Ivory” gel coat from
a previous project, so we didn’t have to purchase
new gel coat to match the hull color. I thought
about purchasing some blue gel coat for the insert stripe,
but had difficulty determining the correct Spectrum part
number for the particular shade of blue used on our tug. However,
at $95/quart (minimum quantity and we needed about 4
ounces), we decided to try to mix our own. We
came pretty darn close. I call it a “ten
foot color match” – hard to see the difference
from 10’ away. Between the two of us,
we had all the tools needed, so didn’t have to
purchase any “new” tools (shucks).
One thing that really impressed me
about the construction of Nordic Tugs is the thickness
of the glass work. The
overlapping hull/deck joint was over an inch thick. The
exterior hull thickness was 3/8”, the interior (cockpit)
was ¼” thick. These two parts
(hull and deck) were held together with what appeared to
be thickened epoxy (not 3M 5200 or Sikaflex). Additionally,
there were large stainless screws through the top of the
joint every 8-10 inches. The starboard end
of the stainless aft rail was through-bolted through the
thick hull/deck joint, followed by a half inch thick glass/epoxy
backing plate, followed by fender washers, lock washers,
and nuts. Talk about Nordic Tugs being bullet-proof
and over built! Our tug is a 1991 model, built
before the latest technology in vacuum bagging and resin
infusion processes came about, so it is no doubt heavier
than the newer tugs….but it’s “built
like a tank”, and definitely strong!
|
|
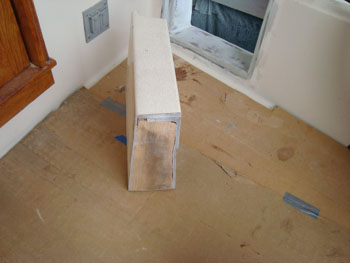
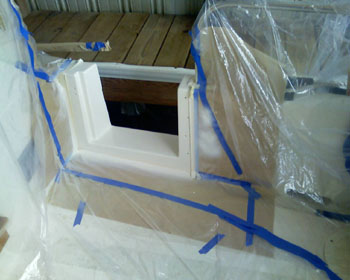
Making the
cut |
The beginning
of the new door |
|
|
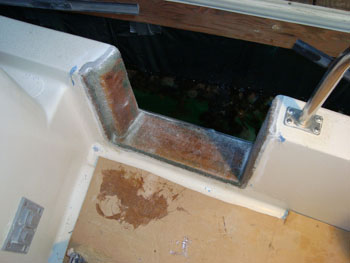
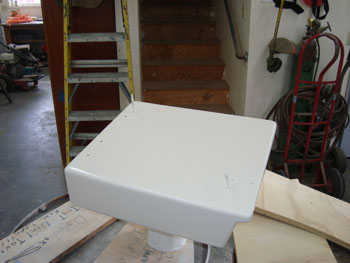
The opening |
Starboard water
tank vent |
|
|
Filler installed,
ready for grinding |
Glassed in
place |
|
|
Final filler
layer before sanding |
Door aft edge |
|
|
Door forward
edge |
Checking for
fit |
|
|
First gel coat
shot |
Last fill of
pin holes |
|
|
Final gel coat
on door |
Final gel coat
on door |
|
|
Final gel coat
on opening |
Final fit before
last wet sand and buff out blue insert |
|
|
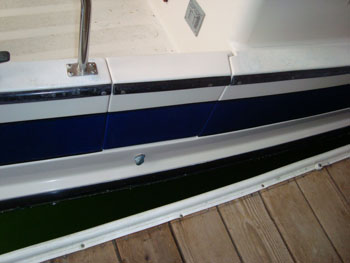
Final door
closed |
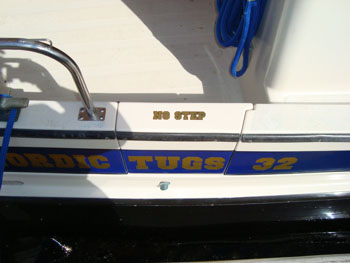
No Step decals
on |
|
|
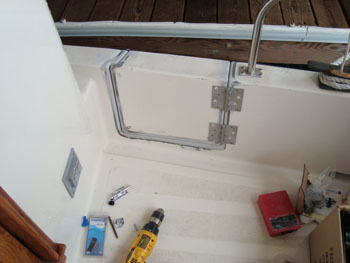
Door open from
outside |
Door open from
inside |
|